Key Takeaways
- Painting and Decorating: Learn the basics of painting walls and ceilings, including preparation, choosing the right paint, and applying it evenly.
- Hanging Shelves: Understand the steps to securely hang shelves, from selecting the right tools and materials to finding the correct wall placement and ensuring stability.
- Fixing Leaky Taps: Get tips on how to fix common tap leaks, including identifying the cause, gathering necessary tools, and following step-by-step instructions to stop the leak.
Basic DIY jobs you can do yourself
When it comes to home improvements, there are some simple tasks that don't require vast DIY knowledge. Our guide covers three basic DIY tasks, so you’ll have the confidence to strap on a tool belt next time you need to put up some shelves, change your toilet seat or replace a broken tile.
There are three main benefits to tackling easy DIY tasks yourself:
1. You’ll get a great sense of achievement once you’ve completed a job.
2. You can fix things straight away, rather than having to wait.
3. You could save money because you won’t have to pay a professional.
With older properties, a basic knowledge of how to carry out simple DIY tasks is useful when making repairs. With a new build property everything will be new, but you may still want to do some basic DIY, such as putting up some shelves in your brand new home.

Putting up a shelf
You’ll need: an AC voltage, studs and metal detector, safety goggles, a spirit level, a pencil, a hammer drill and wall plugs (for masonry walls) or a drill driver (for internal stud walls), a screwdriver, a shelf, shelving brackets and screws.
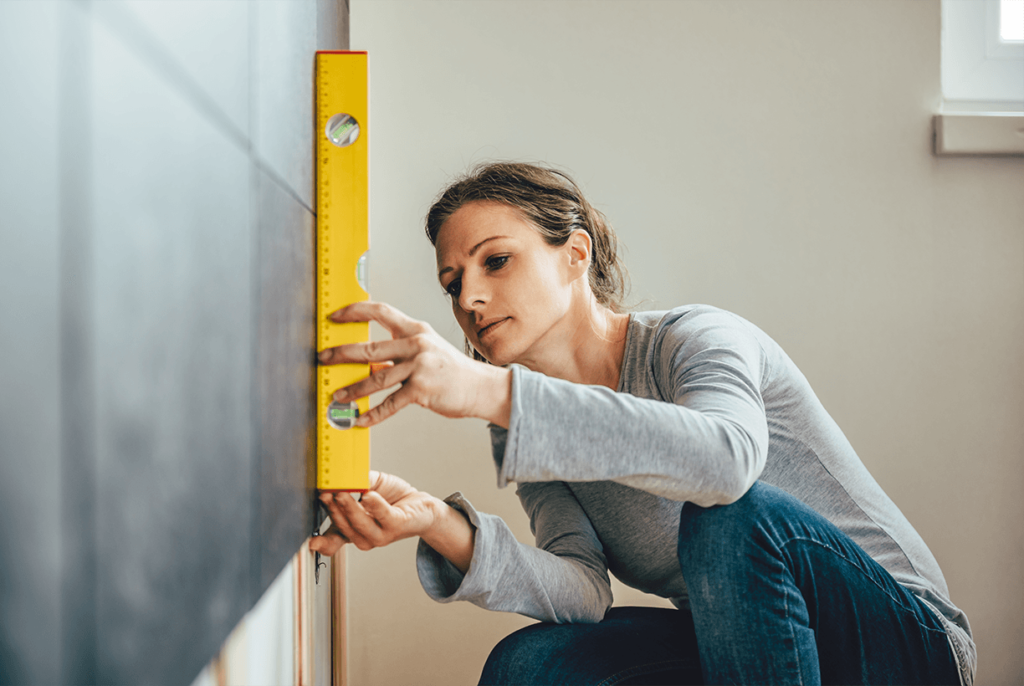
Step 1 – Hold the shelf against the wall where you would like it to go and mark underneath using your pencil. It’s very important that you use your spirit level to check that your markings are level or you’ll end up with a sloping shelf. If the detector picks up any wires or pipes you’ll need to choose somewhere else.
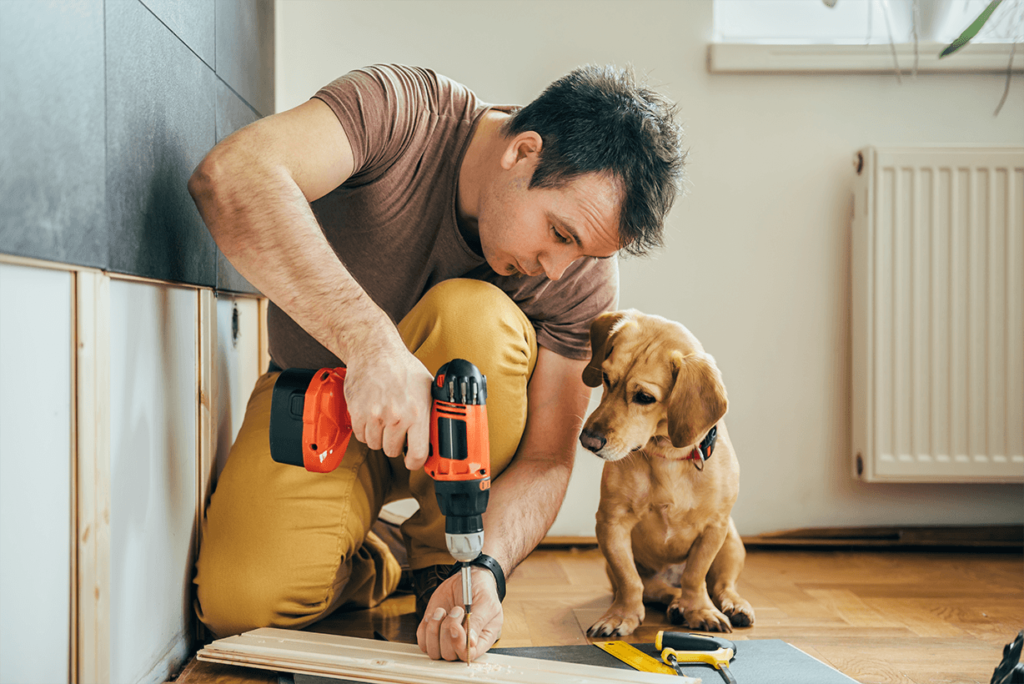
Step 2 – Decide where the brackets and their holes need to go and mark their position. Put on your safety goggles and then drill the bracket holes. Fix the brackets into place using the screwdriver and screws.
Step 3 – Place the shelf in position temporarily so you can mark where the fixing screws need to go. Take the shelf down and drill the small holes where required. Fix the shelf into position, tighten the screws and voilà, job done!
 Replacing a broken tile
You’ll need: a tile which matches your existing tiles, a putty knife, a sharp knife, a cloth, tile adhesive and grout.
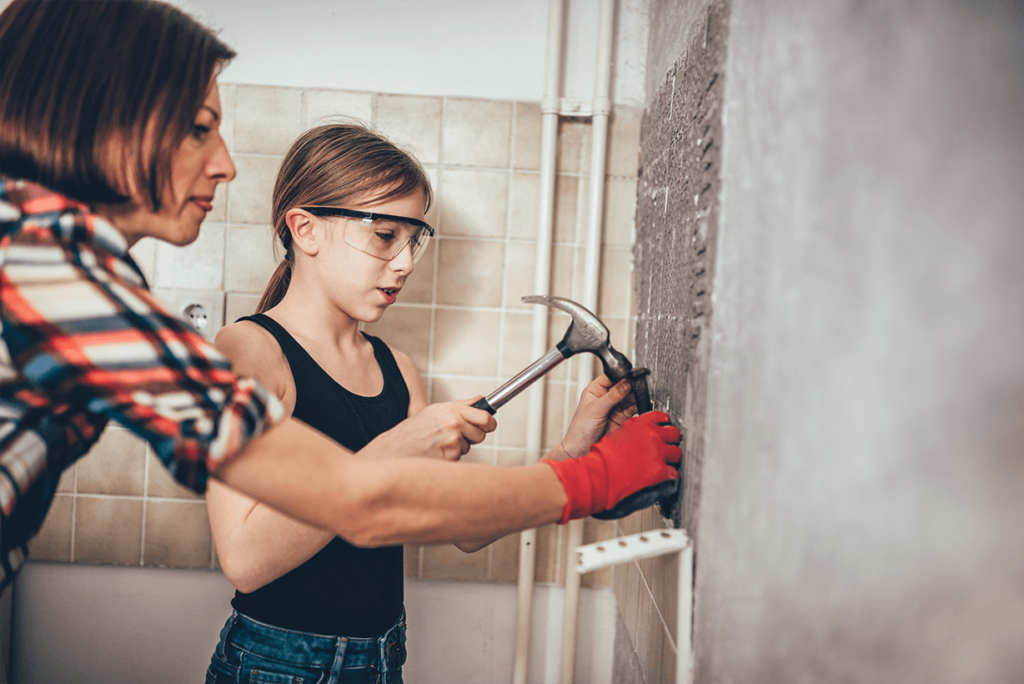
Step 1 – Use your sharp knife to take off the grouting around the tile that you’re replacing. This should allow you to use a putty knife to remove the broken tile.
Step 2 – You need to prepare the surface so scrape off any old adhesive. Apply some new adhesive before putting the new tile in position.
Step 3 – Apply some grout around the new tile and then give it a quick wipe with a damp cloth to clean.

Changing a toilet seat
You’ll need: a tape measure, gloves, multi-purpose cleaner, a cloth and your new toilet seat.
Step 1 – Toilet seats come in a wide range of shapes and sizes so make sure you measure the width and length of your existing toilet seat so you can make sure your new one has the right dimensions.
Step 2 – You need to remove your existing toilet seat by unscrewing the nuts underneath. Make sure you’re wearing gloves to protect your hands from any germs. Use the multi-purpose cleaner and cloth to give your toilet a good wipe down.
Step 3 – Fix your new toilet seat in place by putting it in position over the bolt holes and tightening the nuts underneath.
We hope we’ve inspired you to give DIY a try. If you don't have any of the tools outlined above, they should be available from most DIY stores.


