Key Takeaways
- Choose the right wallpaper: Select wallpaper based on the room’s conditions, such as vinyl for kitchens and bathrooms, and non-woven fabrics for hallways and bedrooms.
- Prepare smooth walls: Ensure walls are clean and smooth by lightly sanding and washing them before applying wallpaper.
- Gather necessary tools: Have all your tools ready, including wallpaper paste, a tape measure, a paint roller, a spirit level, and a ladder.
- Use biodegradable dust sheets: Protect your floors and furniture with waxed or oil-covered biodegradable dust sheets or old bed sheets.
- Clear the room: Make space to lay out your wallpaper and move around easily, especially if working with a partner.
- Work room by room: Complete one room before starting another to maintain motivation and achieve a sense of accomplishment.
- Plan your seams: Plot where the seams will go to avoid mismatched patterns and awkward strips at the ends of walls.
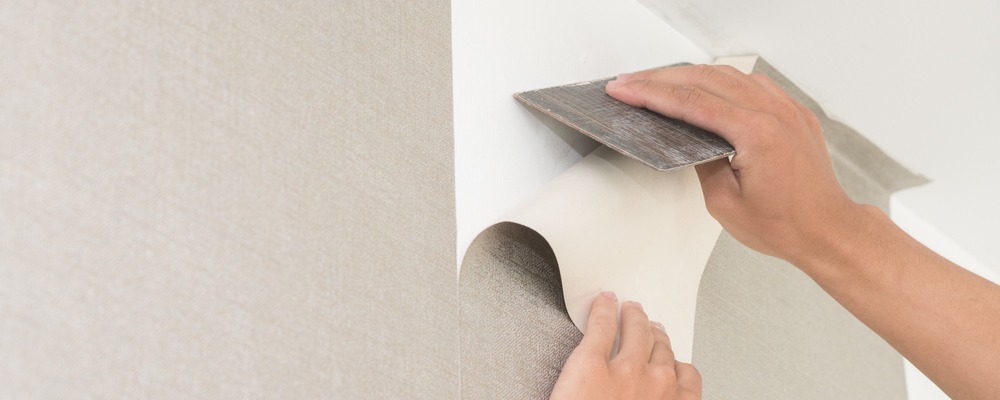
- Use a seam roller: Close gaps and smooth out air bubbles or excess paste with a seam roller for a professional finish.
Does your home need a new lease of life? Is it now time to add your personal style to your new build home? One of the best ways to spruce up your home is through your décor choices. To help you along the way, here are our top wallpapering tips.
1. Choose your wallpaper carefully
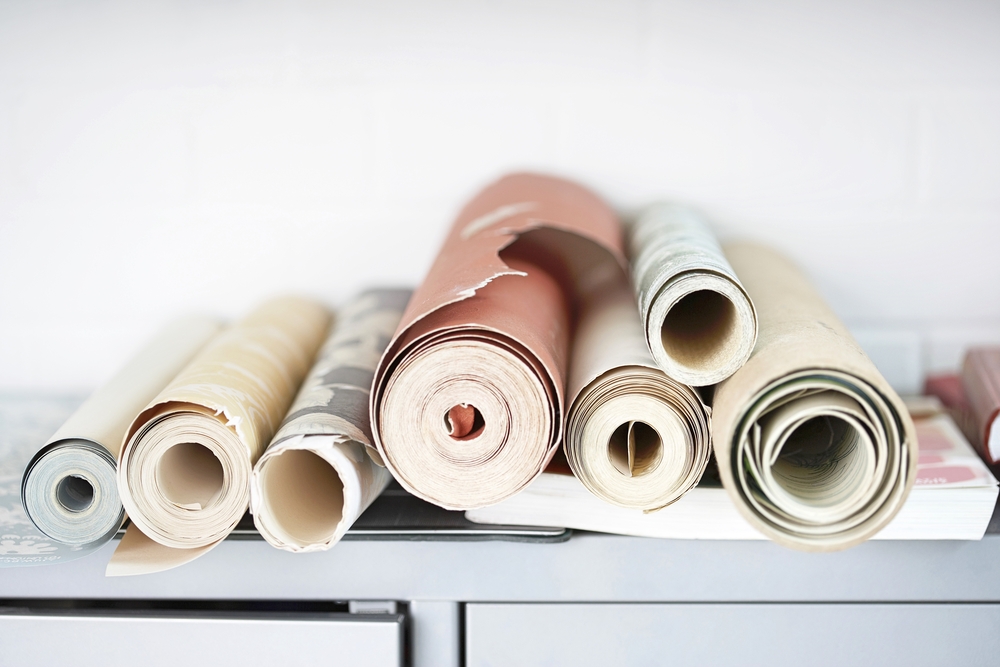
Your choice of wallpaper will depend on the specific room. For example, in areas with moisture in the air such as the kitchen or bathroom, vinyl wallpaper is a good choice, while non-woven fabrics and papers will suit hallways, bedrooms and lounges.

2. Start with smooth walls
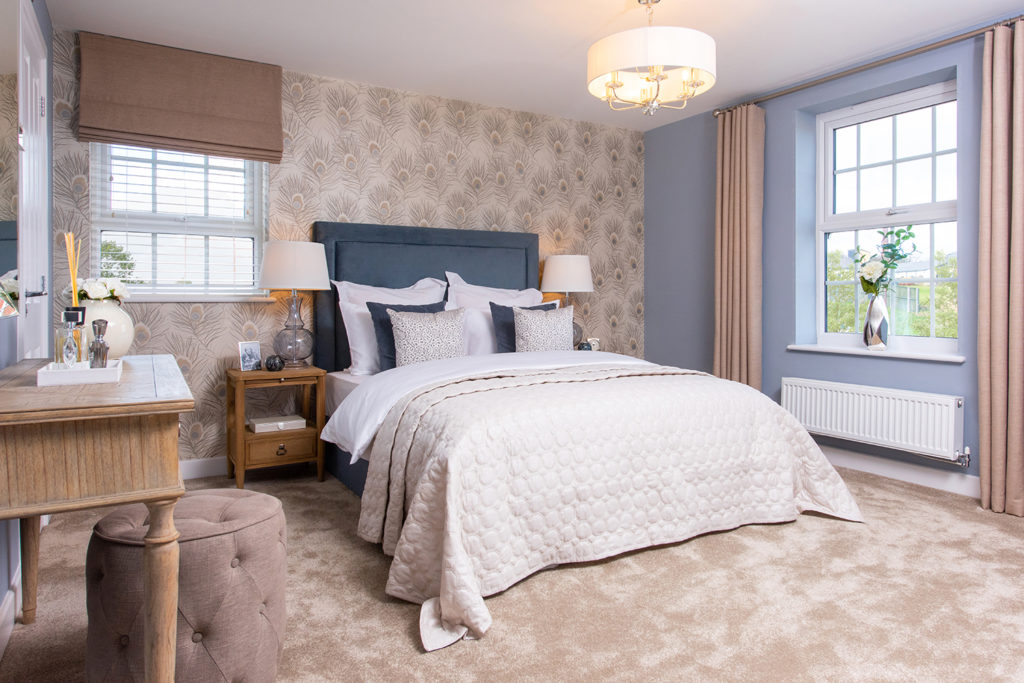
The surface you’re wallpapering onto should be clean and smooth. Lightly sand them down and scrub with a wet sponge soaked in detergent. Allow them to dry fully before you start papering. If you live in a new build home, you'll have an easier time applying wallpaper as the walls are brand new, meaning that they're smooth and easy to apply to.
3. Set up your equipment
Once you're ready to start you’ll need all your tools to hand, so it’s wise to have everything ready. Your wallpapering kit should include:
- Carefully selected wallpaper
- Wallpaper paste
- Lining paper if you’re using it
- A tape measure
- Dry and clean paint roller
- A dry brush
- Spirit level or plumb line
- A knife
- A pencil
- Scissors
- A putty knife
- Something to stand on, such as a ladder or stool – make sure this is safe and gives you enough room to reach the highest parts of the wall
- Pasting table
- Seam roller

4. Invest in biodegradable dust sheets
Purchase waxed or oil covered biodegradable dust sheets, rather than newspaper to cover the floor and any furniture in the room. They are relatively cheap and won’t leave any marks on the furniture or the wallpaper itself. Alternatively, using an old bed sheet will protect your floors and furniture just as well.
5. Clear the room as much as possible
Make space as you’ll need room to lay out your paper. You'll also need space to get up and down the ladder – especially if there’s more than one of you working.

6. Go room by room
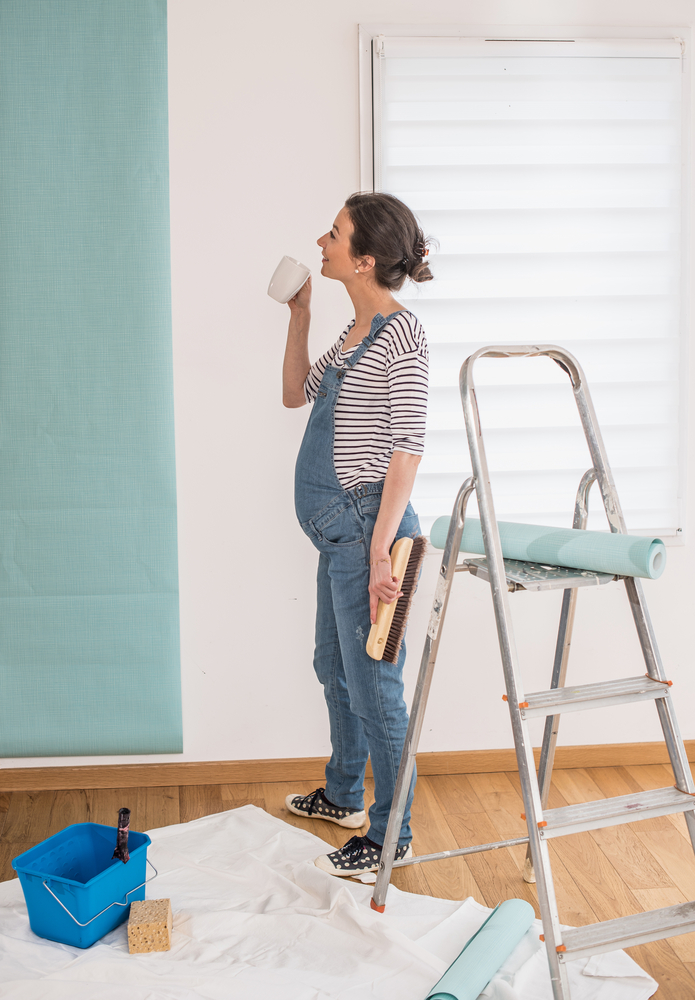
Even if there’s two of you working together, finish one room before you start on the next. This will ensure you achieve that feeling of satisfaction when completing a room and it will motivate you to move onto the next.
Doing bits and pieces in different rooms can drain your appetite for the job and make it feel like a never-ending task.
7. Top tip - plot your seams before you start
One of our top wallpapering tips is to always have an idea of where the seams are going on the wall to avoid any chance of a mismatched pattern. For a good finish you’ll want to avoid ending up with awkward thin strips at either end of a wall.
When turning corners, try to plan for the fold to sit at the middle of a strip as this gives a neater result. Ideally, you’ll want to use a seam roller to help close any gaps and smooth our air bubbles or excess paste. If you’re using a statement wallpaper, make sure that your patterns match between each piece of wallpaper. When going over these seams with a seam roller, avoid applying too much pressure as it might stretch the paper and distort the pattern.
When turning corners, try to plan for the fold to sit at the middle of a strip as this gives a neater result. Ideally, you’ll want to use a seam roller to help close any gaps and smooth our air bubbles or excess paste. If you’re using a statement wallpaper, make sure that your patterns match between each piece of wallpaper. When going over these seams with a seam roller, avoid applying too much pressure as it might stretch the paper and distort the pattern.

8. Use the tools you have
For perfectly straight wallpaper, you’ll want to use a plumb line. These consist of a piece of string with a weight at the bottom, often with a pointed tip. When you hang the line down the wall, the weight pulls the string tight and creates a perfectly vertical straight line for you to mark up. This will allow you to line your paper at the correct angle.


9. Go big on your first piece
Another of our top wallpapering tips is, once you’ve got your lines, don’t cut your first piece of wallpaper to the exact height. Giving yourself some extra room at either end will help you get the placing of the pattern right.
Continue rounding up your measurements when cutting the other pieces to make sure you have a bit of wiggle room to line everything up.
10. If you're pasting the paper, you may need to book it
Booking is a process where you gently fold in both ends of the paper on the paste side, without creasing the folds, leaving it for about 10 minutes. This will help you to achieve even adhesion.

11. Use pins to keep things secure
Wallpaper will always expand and will do so during booking. Securing strips or borders with pins will help keep things in place. Remember to place the pin in a light shade of the paper and run the roller over the small hole once you’ve removed it. Note that you’ll only need to do this if your choice of paper requires you to paste the paper itself, rather than the wall.
12. Be careful around sockets and electrical fittings
Always turn the power off before you start wallpapering. To ensure you get a good finish in these areas, follow this process:
- Paper over the fitting using your main sheet of wallpaper
- Brush over it with a dry brush
- Mark the centre of the fitting with a pencil
- Draw a line to each of the corners from the centre
- Pierce a hole in the middle and cut along the lines you’ve drawn
- You should now be left with four flaps of paper over the fitting
- Unscrew the fitting and fold the flaps behind it before screwing it back in for a great finish

13. Keep things clean
If any paste seeps through the top layer of the paper, make sure you dab it with a sponge soaked in warm water, pulling from the centre of the paper towards the outer edge.
If any paste accidentally ends up on a painted wall you weren’t planning to paper, it should be wiped away gently as soon as possible, so as not to leave any marks.
By following our top wallpapering tips, you’ll have your home wallpapered like a professional in no time. But remember, it's probably best to hold off from making any home improvements during the first 12 months as your house is still drying out.


